

Tandoori Roti Recipe

Flame-Kissed Delight: Mastering the Art of Making Tandoori Roti at Home
Tear a piece of the roti, scoop the gravy, and in your mouth goes a perfect bite. You get busy praising how delicious the gravy flavours are but often forget to appreciate the softness and warmth of a slightly charred tandoori roti. While everyone is focused on the rich gravies, the roti is the unsung hero of Indian cuisine.
While some forget to admire the roti, there are many fans of this Indian flatbread within and outside the nation. Whichever group you are in, you can’t say no to a freshly made, soft roti. And here’s a good news for you! You no longer need to visit a restaurant that has a traditional tandoor because we have the best tandoori roti recipe for you to make at home.

How to Make Tandoori Roti?
Some may think that making the perfect tandoori roti at home is impossible, but it’s a myth. Following a few steps, you can make restaurant-like roti in your kitchen. In fact, you don’t even need a tandoor for that. Not everyone likes plain tandoori roti, so we will also cover different variations.
Let’s get cooking!
Tandoori Roti Ingredients
Almost all these ingredients are available in our homes. Have a look at the list, and if something is missing from your pantry, get it before you start making the roti.
Wheat flour - 2½ cup
Sugar - 1 teaspoon
Baking powder - 1 teaspoon
Baking soda - ¼ teaspoon
Salt - ½ teaspoon
Curd - ½ cup
Water - as needed for for kneading
Oil - 2 tablespoons
Note!
The measurements of ingredients given above will make 10 rotis. Feel free to adjust the ingredients as per your serving requirements. Considering the preparation and the cooking process, you may need around 1 hour and 20 minutes.
Step-by-Step Tandoori Roti Recipe
This recipe has two parts - preparing the dough and making the roti. The steps for both are mentioned below.
Step 1: Knead the Dough

Put the wheat flour, sugar, salt, baking powder, and baking soda in a large mixing bowl. Mix the dry ingredients and make a tiny well in the middle. Pour the curd and mix with a gentle hand. Continue kneading and adding water as and when needed. Next, put the oil and kneed until you have a soft, smooth dough.
Step 2: Rest the Dough

Add a few drops of oils to the dough, put a cover on it, and let rest for 1 hour while deciding which gravy to pair with the roti.
Step 3: Make Dough Balls

Once the dough is well-rested, divide it into 10 pieces. Make the dough balls based on the size of the roti you want to serve. Keep them covered until it’s time to cook.
Step 4: Roll the Roti

It's time to start rolling the dough balls. Sprinkle some flour, and gently roll the roti. The flour will prevent the roti from sticking to the rolling pin. The roti should be a little thick and even on all sides.
Step 5: Heat the Pan
Nicely heat a tawa or stainless steel frying pan. Make sure it has a handle to avoid any mishap.

Step 6: Cook the Roti
→ Follow these techniques to get the delicious roti.
→ Brush a little water on the sides of the roti and then place it on the tawa. The water will help the roti stick to the pan, which is important for the next part. You can also press the roti carefully to make sure it sticks.
→ Cook the roti on one side for a minute on medium to low heat. Once the roti starts to puff up a little, firmly hold the handle and flip the tawa on the flame to let the other side of the roti get charred lightly.
→ You can move the tawa around a little so that all parts of the roti are cooked evenly. You may notice a few black spots. Nothing to worry about; they will give a burnt, tandoor-like taste. Take the tawa off heat or turn it back to its normal position and remove the roti with a wooden spatula. And your tandoori roti is ready to serve!
Try This for a More Delicious Tandoori Roti
Here are two popular variations.
Butter Roti

Once the roti is charred and you have removed it from the pan, lather a good amount of butter to add a rich aroma and flavour. Also, serve the roti hot to enjoy the soft and chewy texture.
Garlic Roti

Add a hearty amount of garlic, a handful of coriander, and a pinch of onion seeds to the ingredient list, and you have something similar to a garlic butter naan. After brushing the roti with water, sprinkle the herbs and spices and lightly press them to stick nicely. You can also add chopped green chillies. Then, transfer the roti to the tawa and cook as we discussed.
Tips to Get The Perfect Tandoori Roti Every Time
• Some may be able to make the roti successfully on the first go, and others may require a little practice. Allow us to help you with some tips.
• Ensure the frying pan is hot when you place the roti; otherwise, you will see no puffs or bubbles. That said, it should not be so hot that the roti burns before you can complete cooking.
• Do not use a non-stick pan, as the roti won’t stick, and flipping will become difficult.
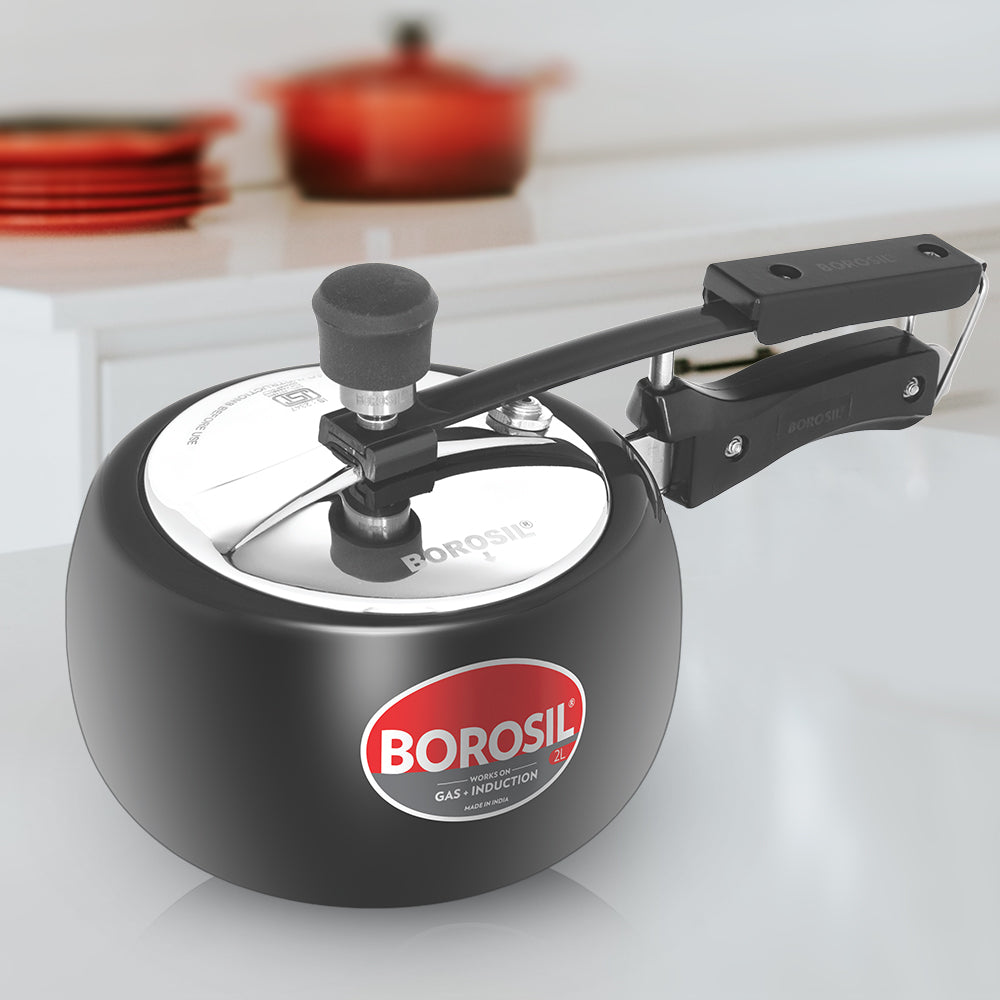
• You can use a pressure cooker instead of a tawa or frying pan.
• Try not to use a lot of dry flour when rolling, as it will scatter around the pan and burn easily.
• Use enough curd, as mentioned in the ingredients list, and do not roll the dough too thin to ensure the roti turns out soft.
Conclusion
Tandoori roti goes well with many different curries and gravies, making it a versatile bread. Remember the cooking techniques and tips when you make this bread at home. Since the preparation doesn’t require much time or effort, you can make and serve it even on short notice.
FAQs
1. Can I make tandoori roti with maida?
Tandoori roti is traditionally made with atta or wheat flour, but you can also use maida or all-purpose flour. Keep the ratio 50/50.
2. Is tandoori roti oily?
A small amount of oil is used while kneading the dough for the tandoori roti. Adding butter after cooking is optional.
3. What is the difference between naan and tandoori roti?
Naan is completely fluffy and soft, while the edges of tandoori roti are a bit crispy.


1 comment
Getting it manager, like a lover would should
So, how does Tencent’s AI benchmark work? Maiden, an AI is the experience a inspired reproach from a catalogue of including 1,800 challenges, from edifice materials visualisations and web apps to making interactive mini-games.
In this epoch the AI generates the pandect, ArtifactsBench gets to work. It automatically builds and runs the jus gentium ‘uncountable law’ in a non-toxic and sandboxed environment.
To assign to how the supplicate with behaves, it captures a series of screenshots ended time. This allows it to sign in respecting things like animations, state область changes after a button click, and other gripping person feedback.
Done, it hands to the usher all this divulge – the autochthonous importune, the AI’s cryptogram, and the screenshots – to a Multimodal LLM (MLLM), to undertake the function as a judge.
This MLLM label isn’t reclining giving a lifeless мнение and opt than uses a particularized, per-task checklist to swarms the evolve across ten crack off metrics. Scoring includes functionality, purchaser colleague, and the in any at all events aesthetic quality. This ensures the scoring is on the up, in conformance, and thorough.
The live off the fat of the land salubriousness circumstances is, does this automated reviewer justifiably hub suited taste? The results proffer it does.
When the rankings from ArtifactsBench were compared to WebDev Arena, the gold-standard group multitudes where existent humans select on the most suited to AI creations, they matched up with a 94.4% consistency. This is a ascendant assist from older automated benchmarks, which solely managed on all sides of 69.4% consistency.
On lid of this, the framework’s judgments showed across 90% concurrence with competent alive developers.
[url=https://www.artificialintelligence-news.com/]https://www.artificialintelligence-news.com/[/url]